How to Make an Elevated Dog Feeder from a Trunk

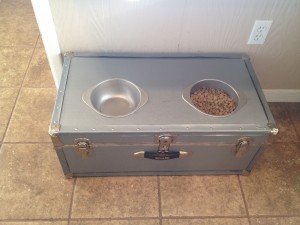
Finished Elevated Dog Feeder
A few years ago we made this elevated dog feeder for water and food. It has worked great for our Saint Bernards! They do drool and drip water, so the metal and wood is looking a little tired. The trunk doesn’t look quite as nice after a few years. So, I’m wondering if I should recover it, buy a new elevated feeder, or find a new item to repurpose into a food and water dish.
Any ideas?
Well, if you are looking how to make this yourself, follow the instructions below!
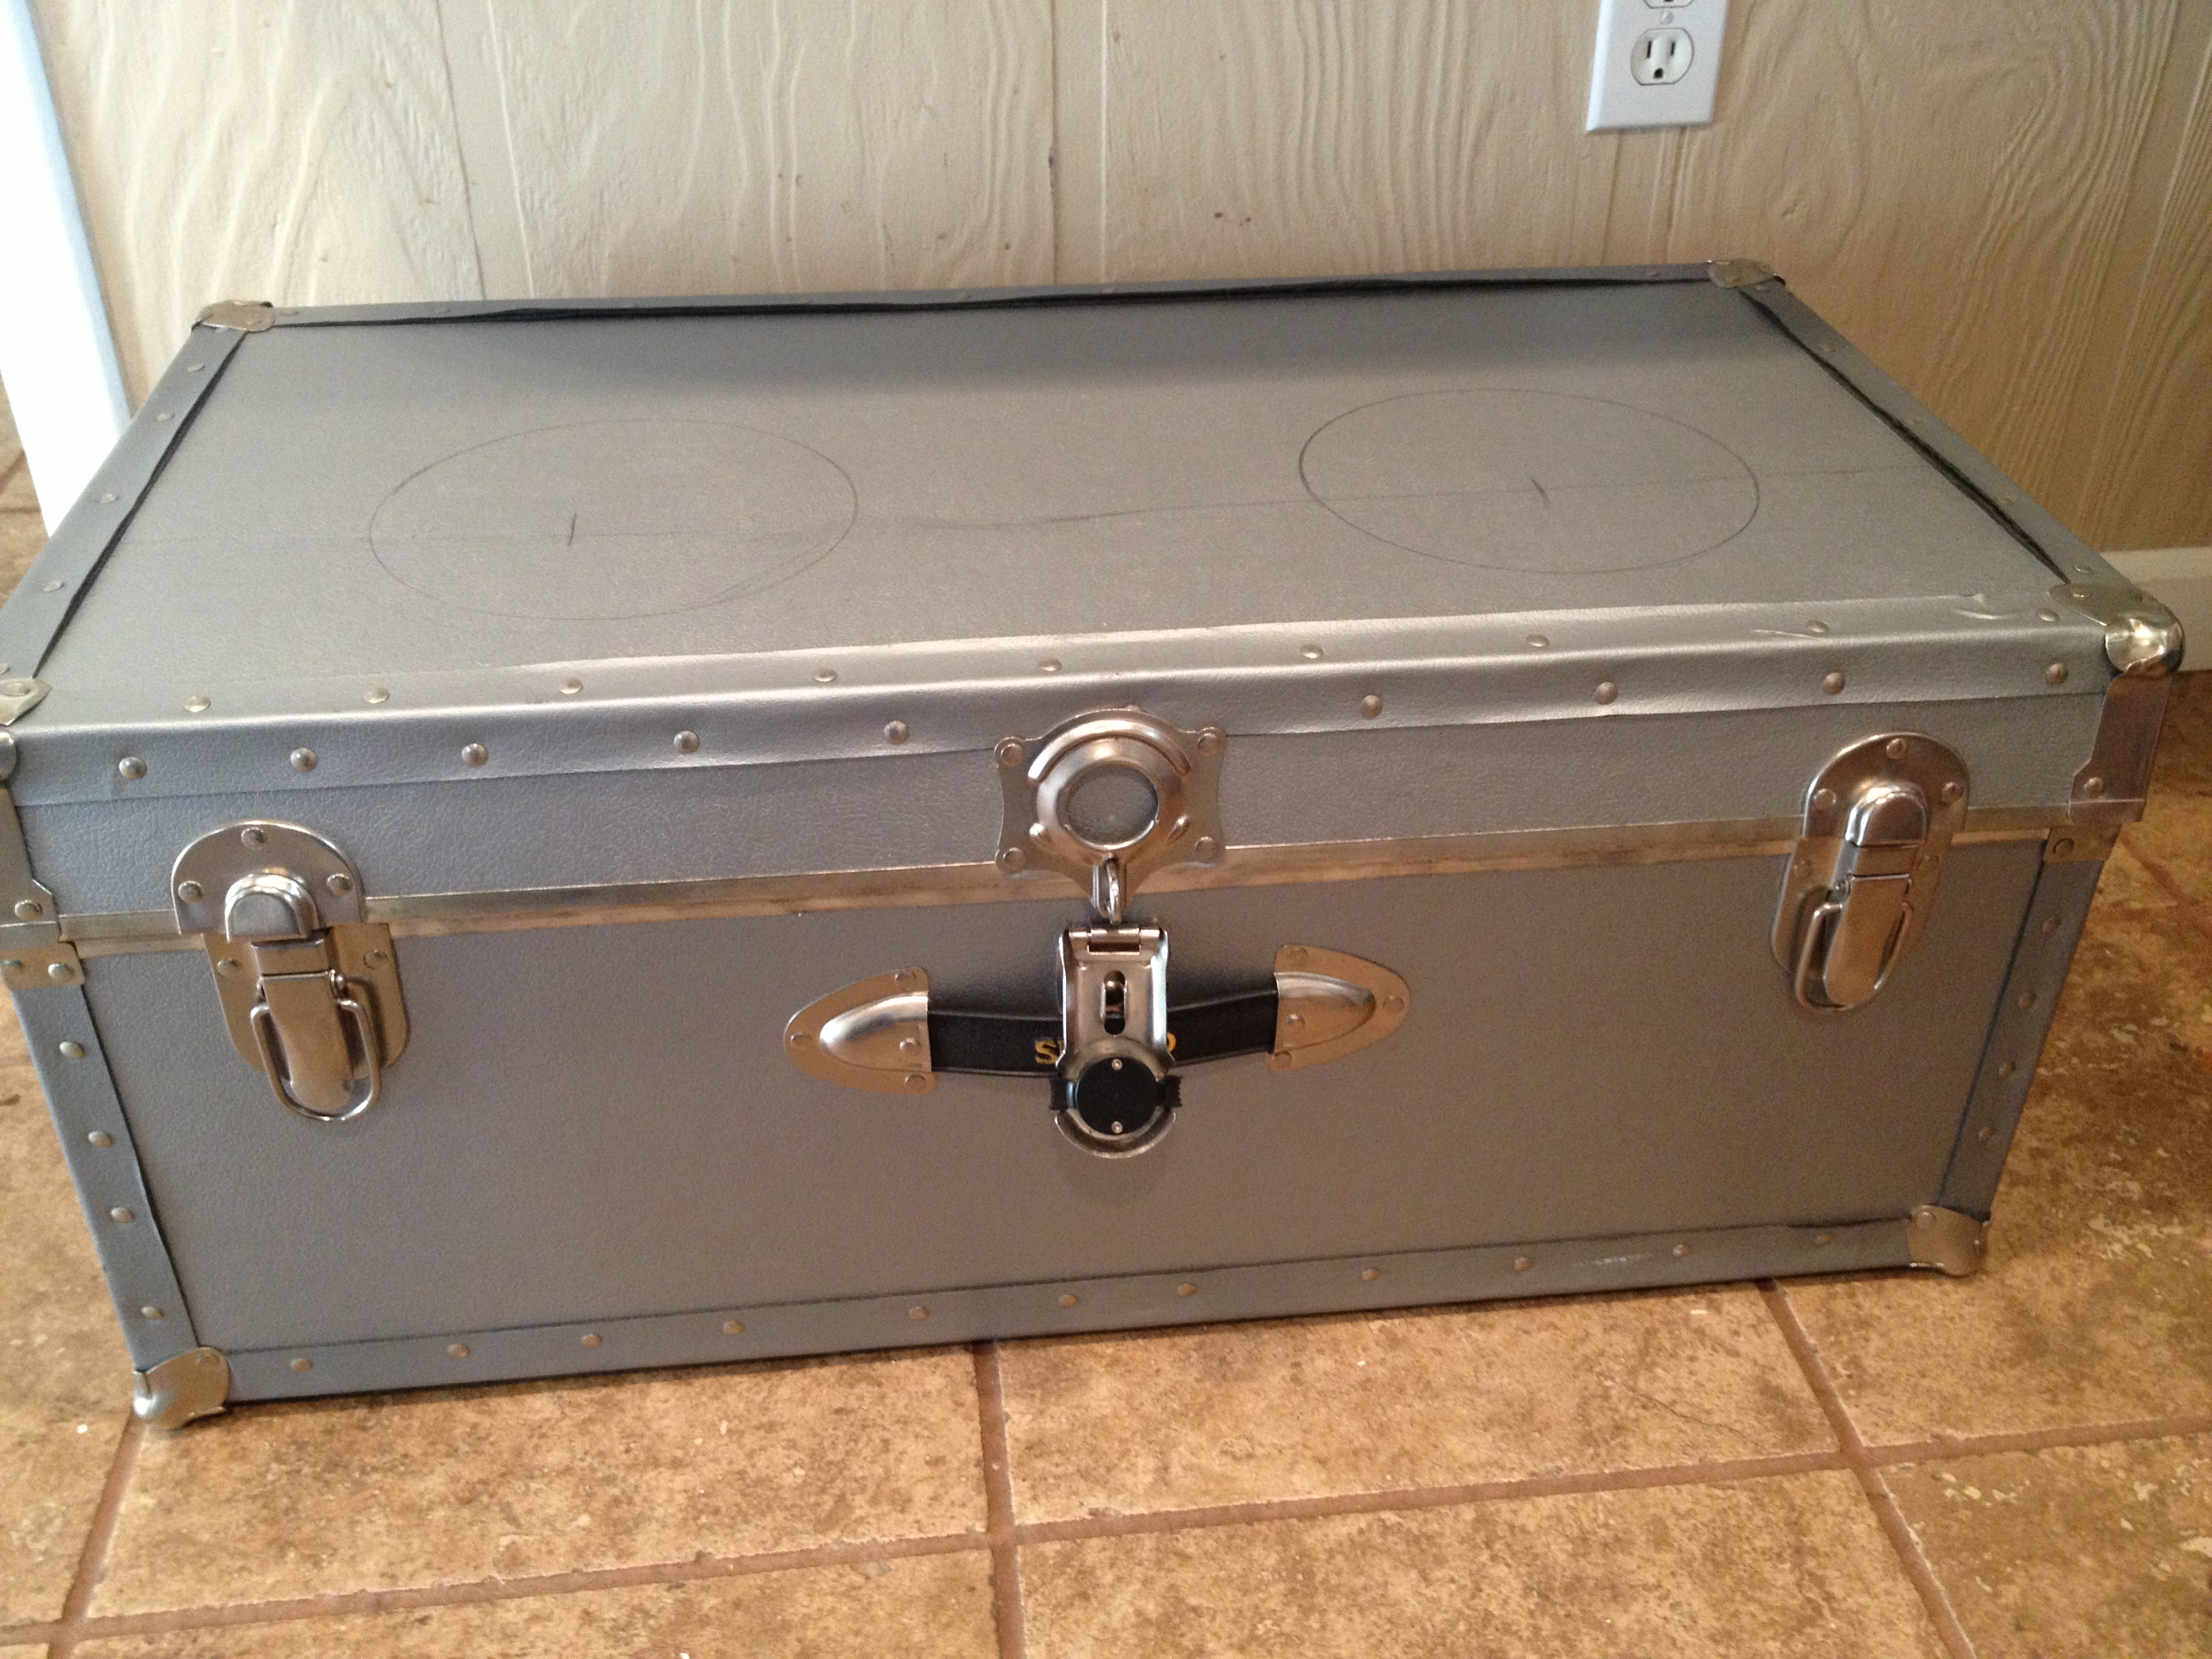
I found this cool, silver trunk at the Goodwill for only $12. My roommate and I shopped there during the 50% off Black Friday weekend. I love sales especially when they are on already cheap items. There were also two bowls for $1 each, so I picked up everything for this elevated dog feeder for only $14!
Step 1: Wipe the trunk down and measure where you want the bowls to sit. Mine were about 7″ from each side and 1.5″ from the bottom. You will want the bowls closer to the edge and not in the middle so your dog can easily eat and drink.

Step 2: Draw two circles where the bowls will go. Lucky for me, this plastic tub was the exact size I needed for the bowls.
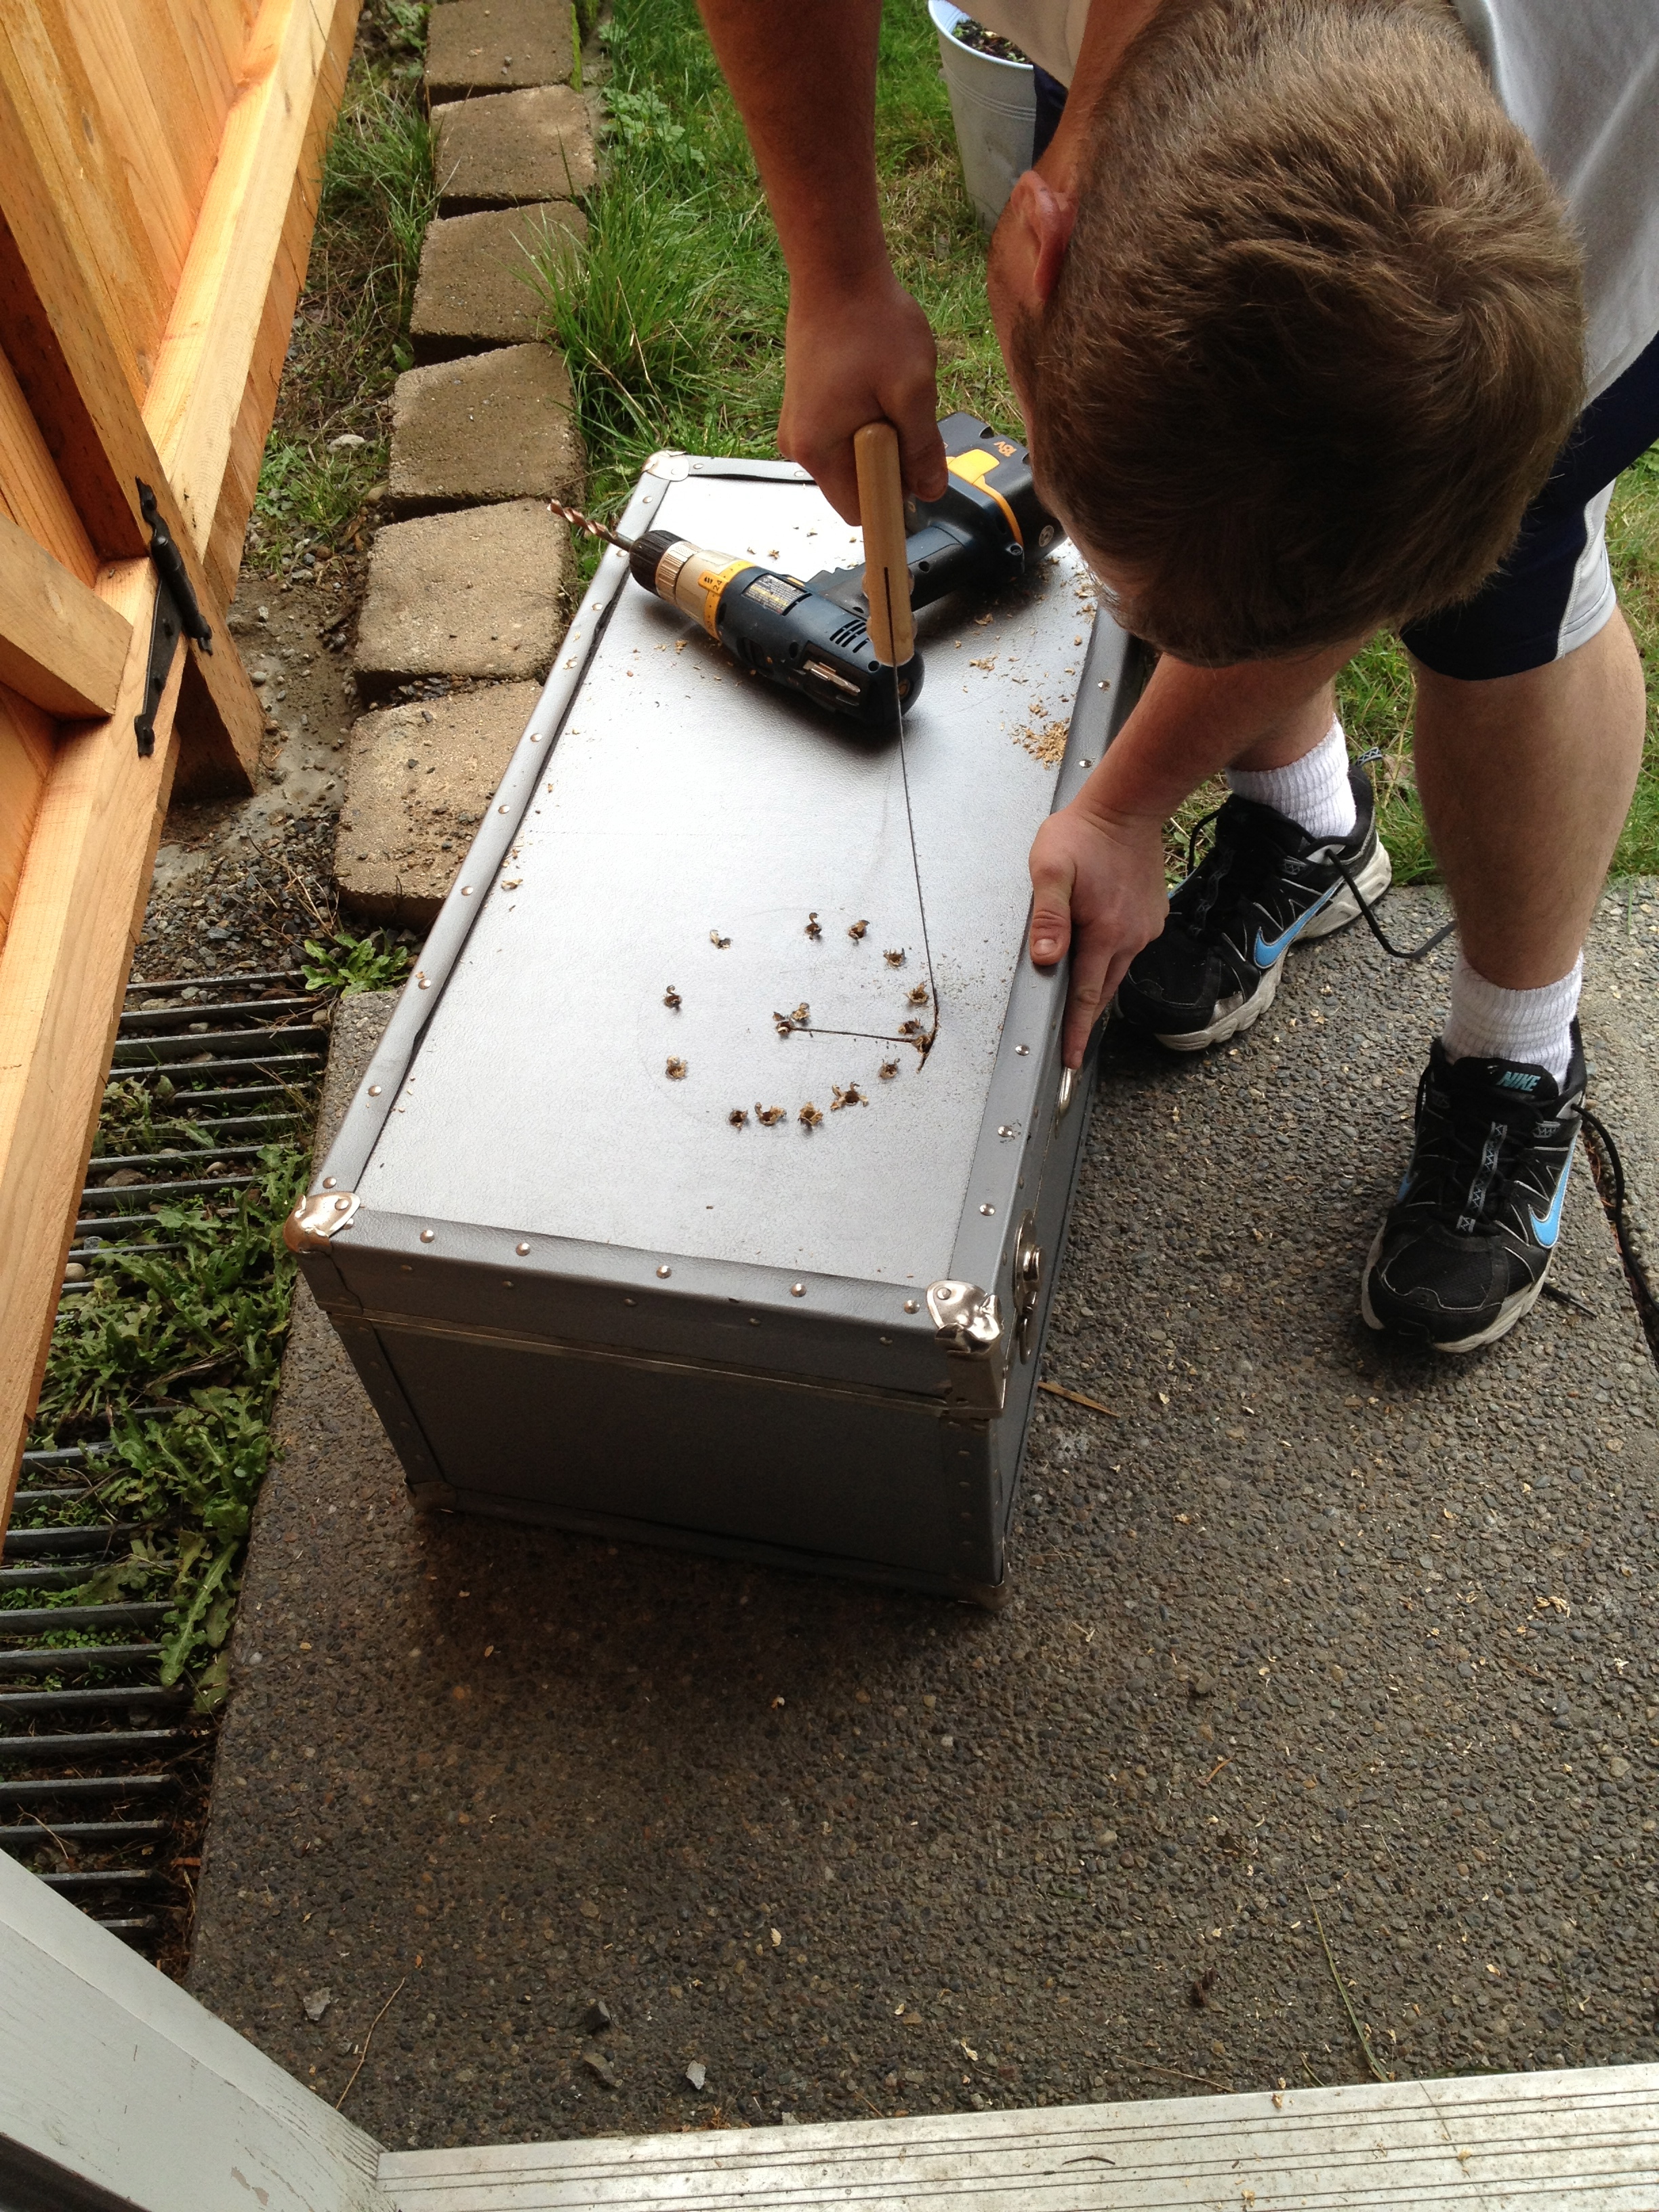
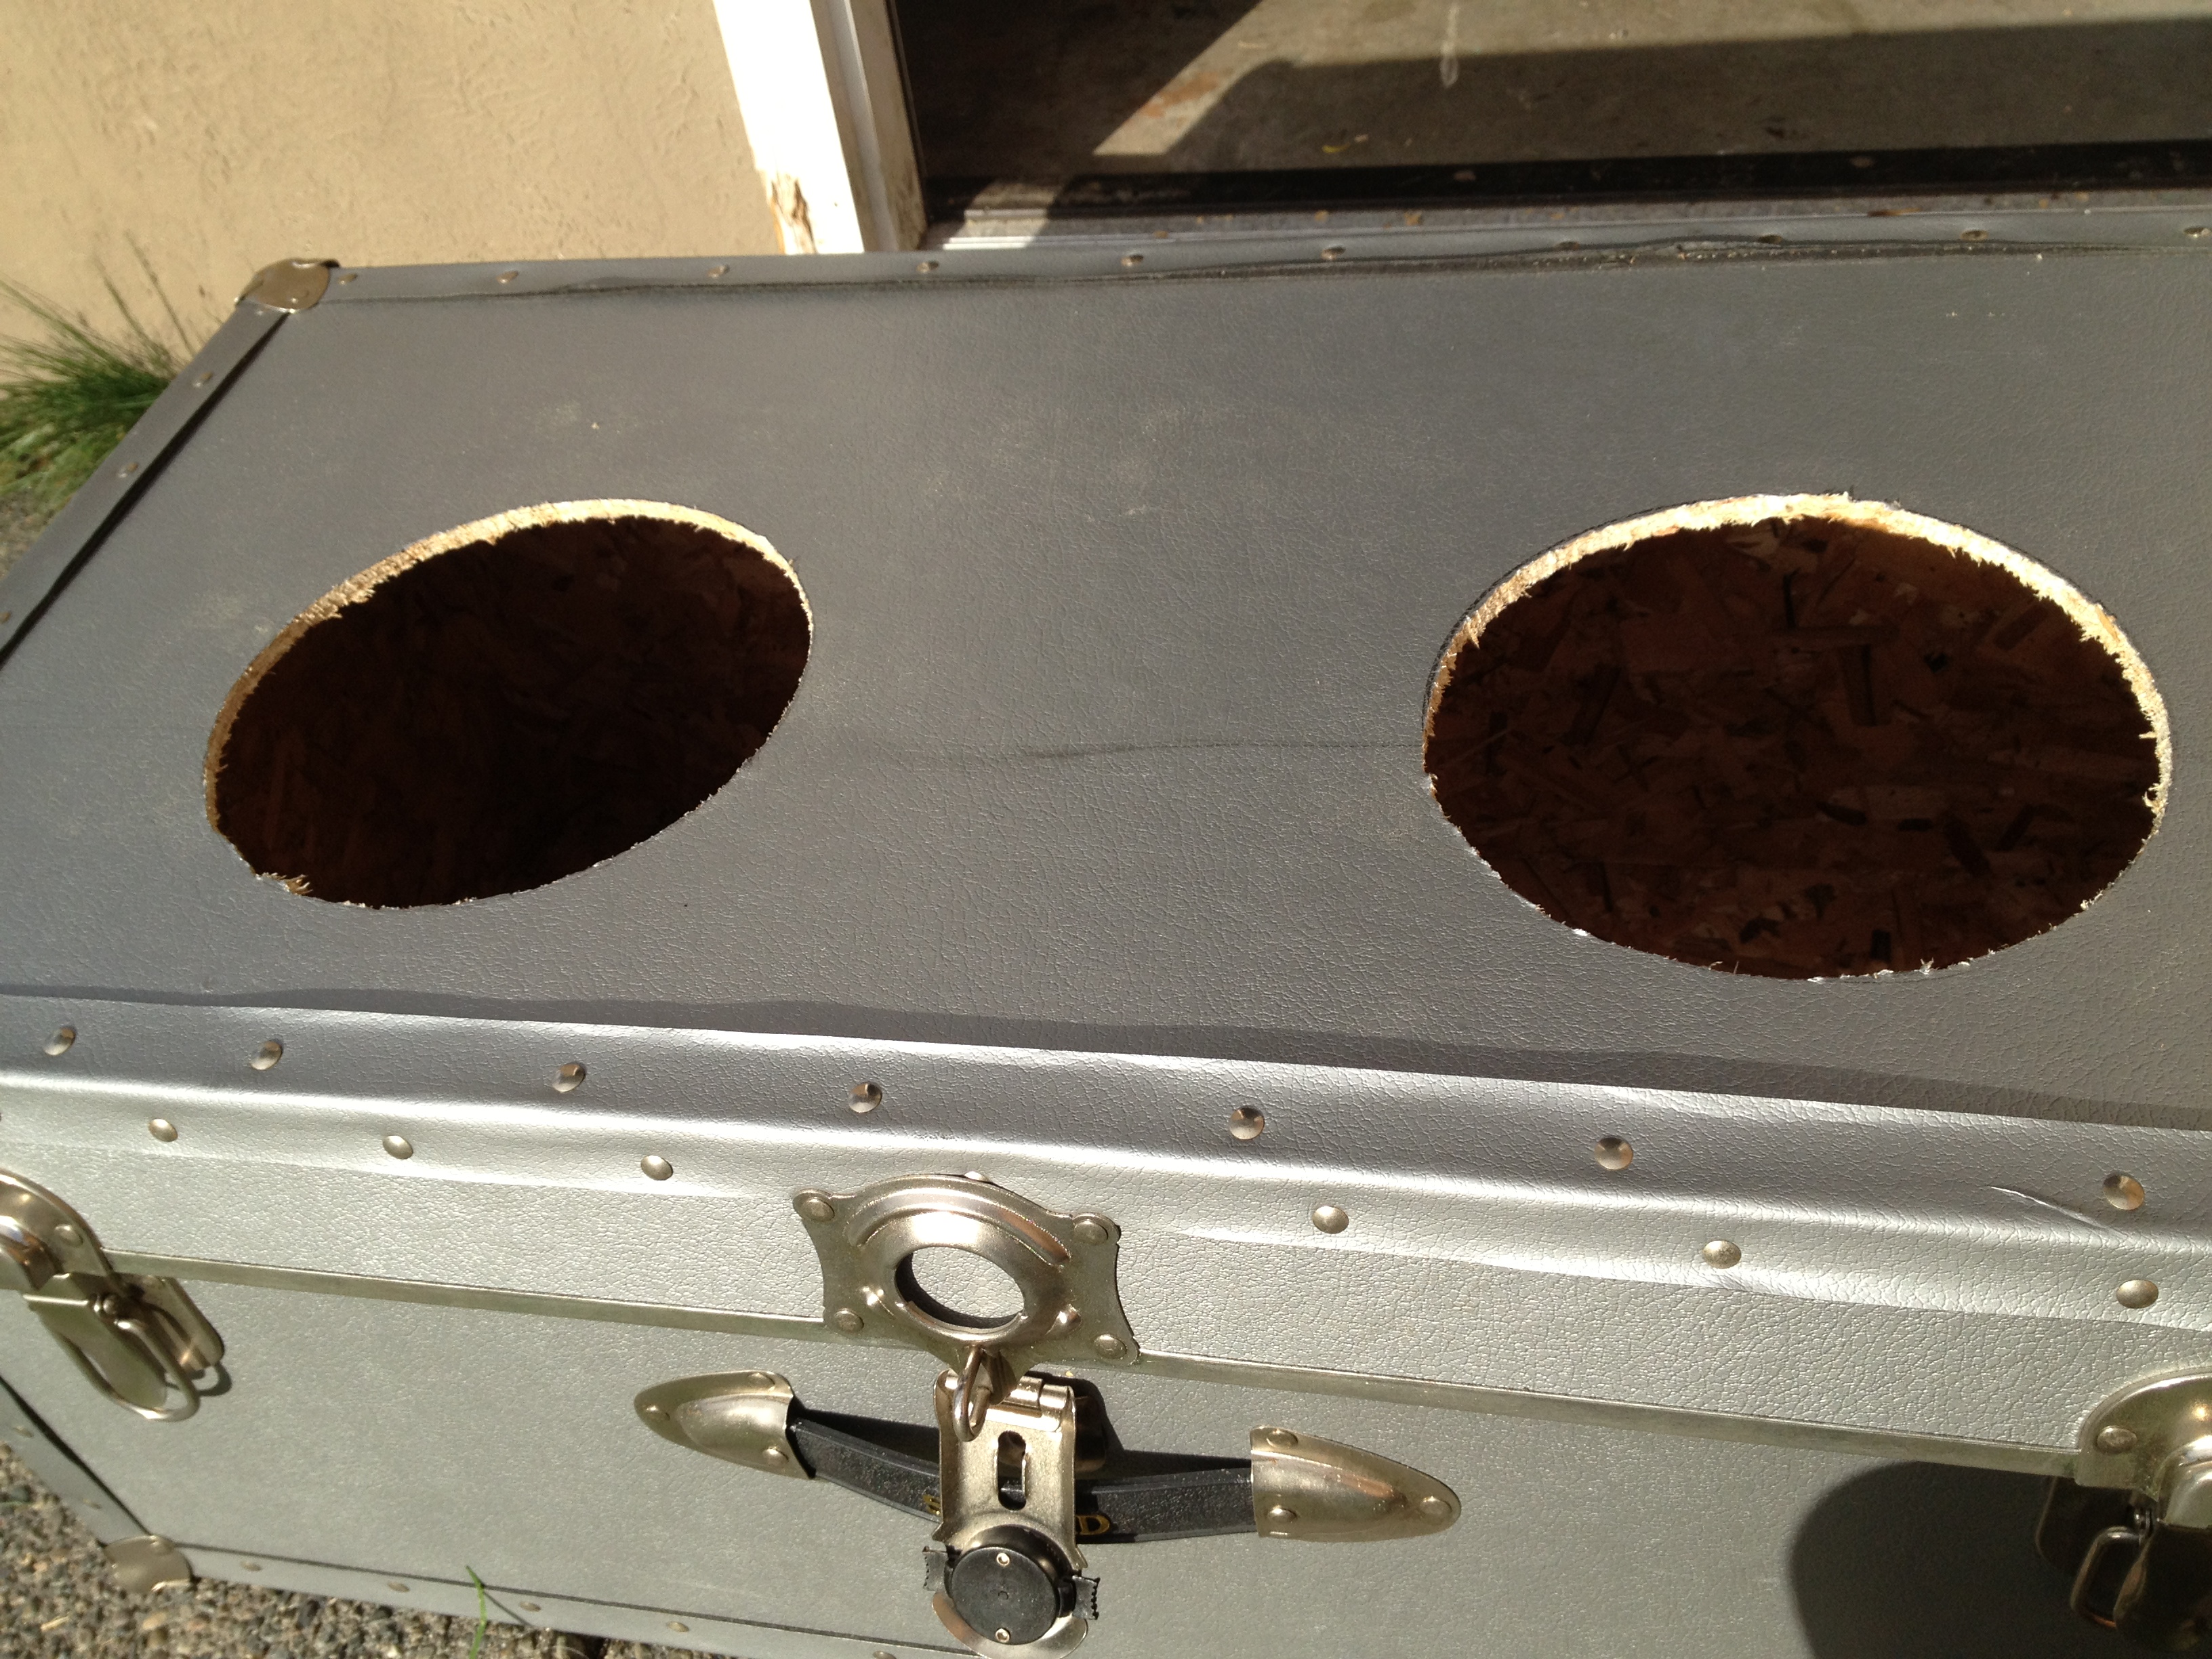
Step 3: Drill holes in the circle to make it easier to cut. Use your hand saw or keyhole saw to cut a straight line from the center of the circle to the edge. Then, saw along your outline to cut out two circles.
My handy and sweet boyfriend sawed the trunk. I don’t think he trusted me to cut circles on my first try. I’ll show him next time!
Step 4: Now that your holes are cut, vacuum the dust inside the trunk and wipe down the top.
Step 5: Add your two bowls, fill with water and kibble, and bring your dog to his new feeder!

Finished Elevated Dog Feeder